Users and roles

Tenant administrators manage users in Settings > Users. Users determine who can sign in, what they can access, and whether they can receive routed work.

Prerequisites

You need an administrator or owner role that allows user management.

User directory

The user directory lists tenant users and their access state. Each Name cell shows the user’s current profile photo, or initials when no photo is available. From this area, administrators can:
  • Invite new users.
  • Edit user details.
  • Assign one or more roles.
  • Activate or disable users.
  • Review pending invitations.
  • Manage routing-related user properties such as language capabilities.
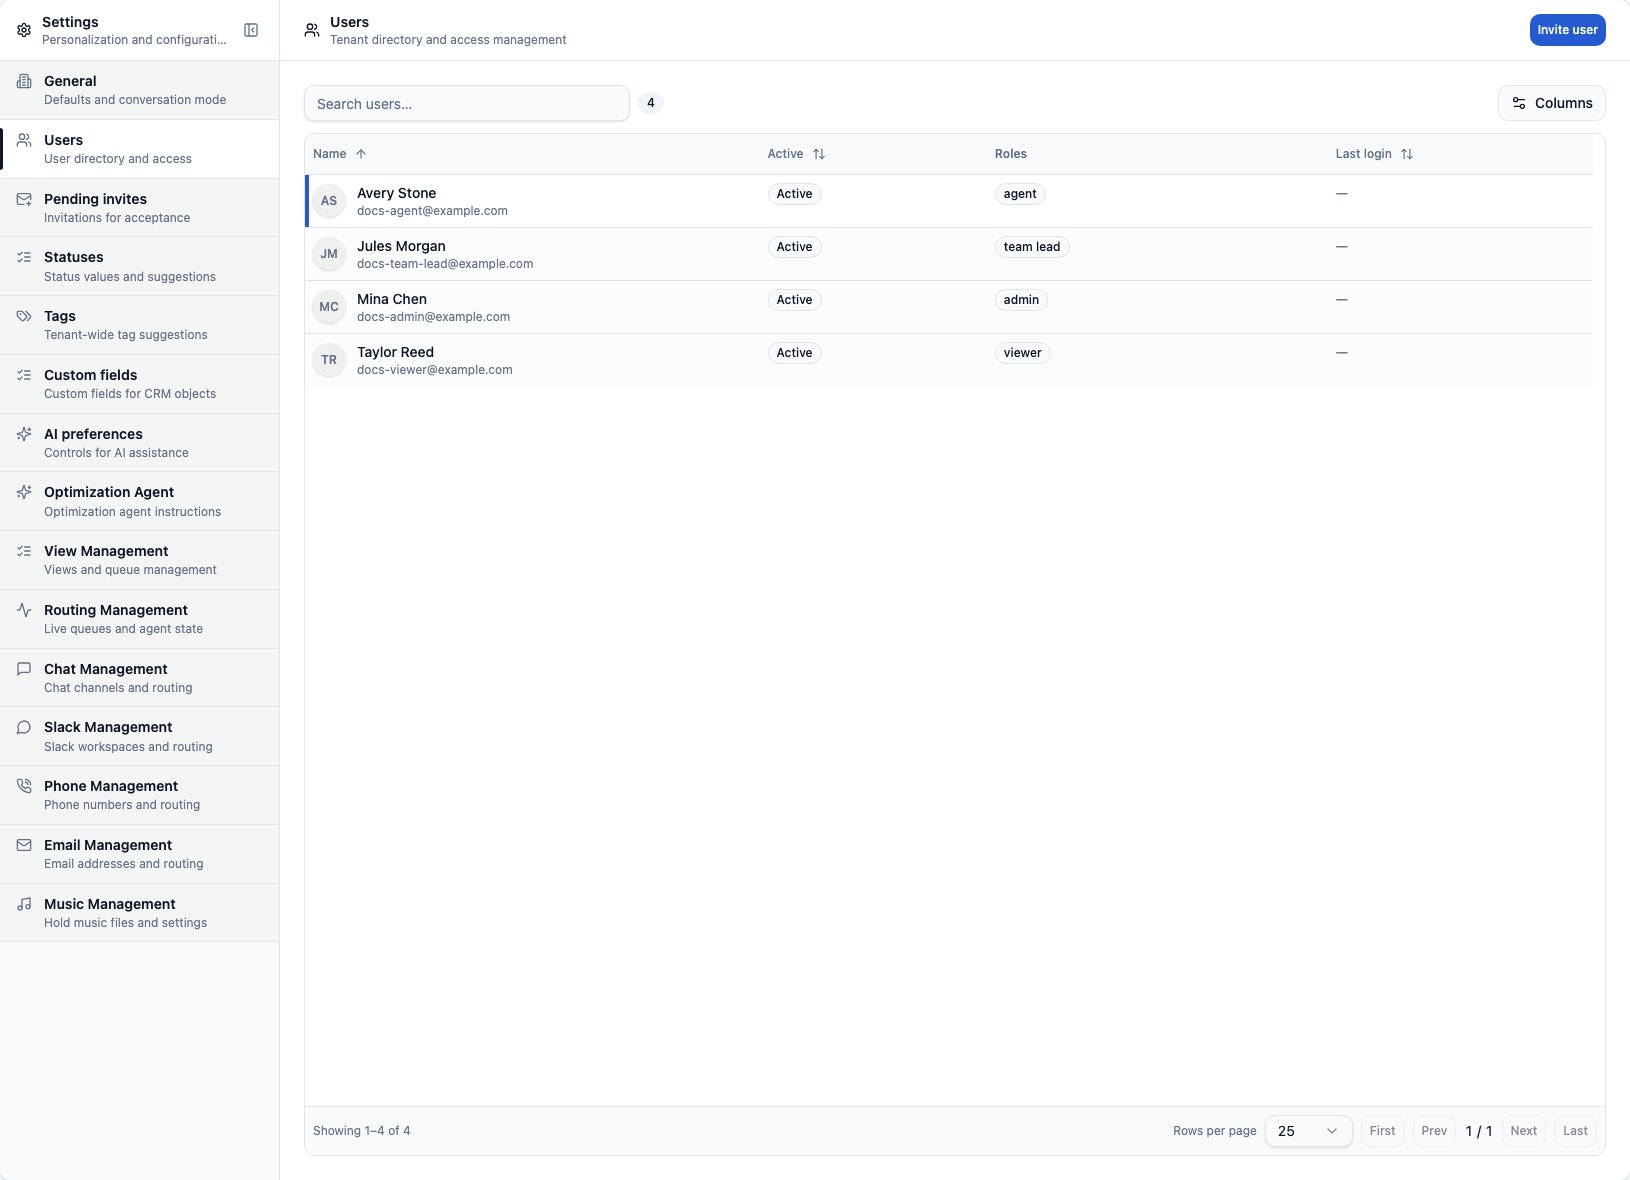
This page is for tenant directory and access management. Your own account and live availability summary is in My Profile > General. Each CXP user is linked to a contact record. That contact stores profile details such as name, email, phone, tags, notes, and other contact-backed fields. The linked contact is the canonical person profile, so its photo is shared anywhere that person appears as a contact or platform user. Users manage their own photo from My Profile > General. Administrators can upload, replace, or remove a selected user’s photo from Settings > Users; arbitrary photo URLs are not accepted there. CXP Settings Users page showing seeded tenant users, active state, and roles

Common roles

Roles determine what a user can see and do. A person can hold multiple roles when needed.

Invite a user

To invite a user:
  1. Open Settings > Users.
  2. Select the invite action.
  3. Enter the user’s email and profile details.
  4. Choose the roles the user should have.
  5. Send the invitation.
Pending invitations appear in the user settings area. Remove stale invitations when they should no longer grant access.

Activate or disable access

Use active and disabled states to control whether a user can participate in the tenant. Disabling a user should prevent normal tenant access and routing participation. It does not delete historical audit or conversation records.

Configure routing readiness

Agent routing has two layers:
  • Tenant user access controls whether the person can use CXP.
  • Agent state controls whether an agent can receive routed work now.
Agents can be Ready, Not ready, or Off duty. Administrators should use user roles and active state for access control, not as a substitute for day-to-day readiness.

Configure inactivity timeout

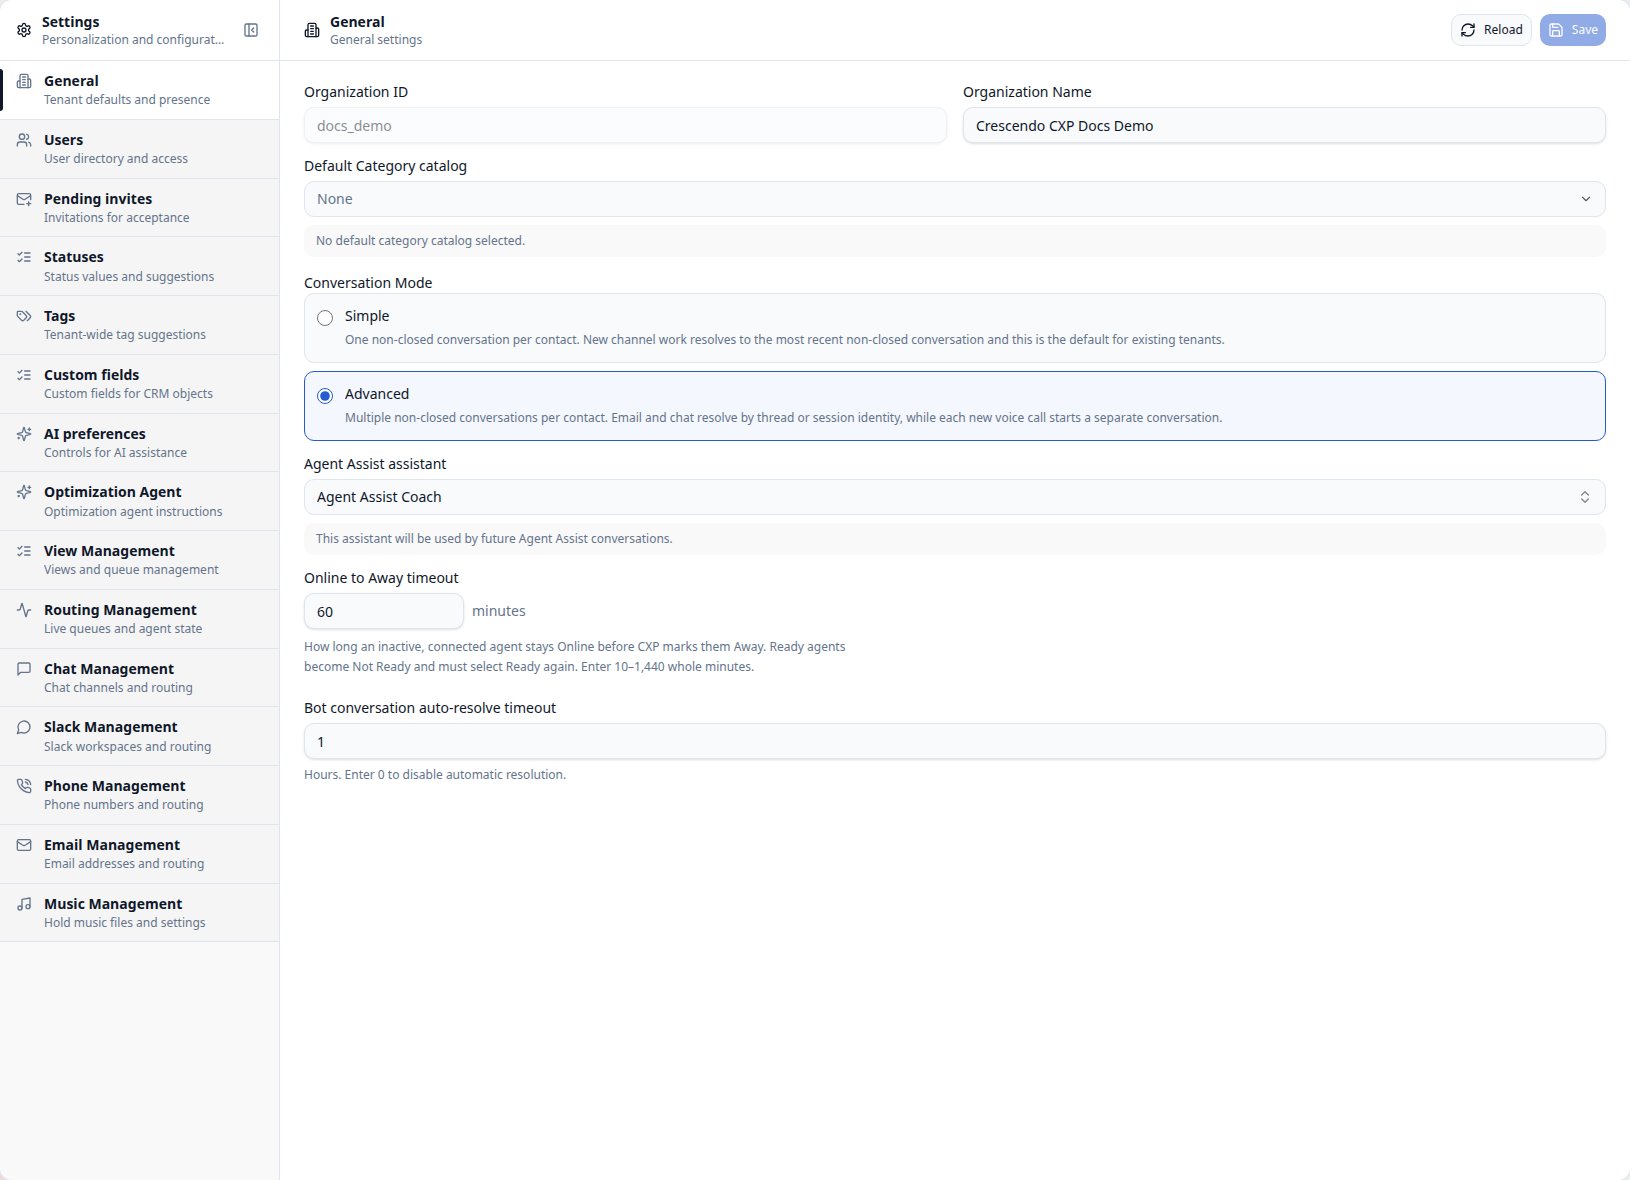
Use Settings > General to control how long an inactive, connected agent stays Online:
  1. Open Settings > General.
  2. Find Online to Away timeout.
  3. Enter a whole number from 10 through 1,440 minutes.
  4. Select Save.
The default is 60 minutes. CXP applies the threshold on the next presence maintenance heartbeat after the threshold is reached, so the visible change can occur shortly after the exact minute. When an agent changes from Online to Away, CXP also changes a Ready agent to Not ready. Existing Not ready or Off duty state is preserved. Later activity returns the agent Online but does not select Ready for them; the agent must select Ready again. CXP Settings General page showing the Online to Away timeout in minutes

Configure language capabilities

Users can have language capabilities for routing. If language-aware routing is enabled, CXP can prefer agents who support the analyzed customer language. A user with no language restriction is treated as unrestricted.

Configure notification preferences

User settings can include internal notification preferences for conversation activity such as public messages, status changes, and internal notes. The Public Messages preference applies to public email-channel messages; live chat messages and voice transcripts do not generate follower notification emails.